In this Tutorial I want to show how to use IntelliJIdea and JFormDesigner for designing and coding a little Hello World GUI Application. For this we need as prerequisites:
- IntelliJIdea (coimmunity Edition or commercial Edition)
- Formtech JFormDesigner Plugin for IntelliJIdea (to install with Plugin Manager → CTRL+S → Plugins
- Java OpenJDK 16 (I selected the one from AZUL, download at azul.com)
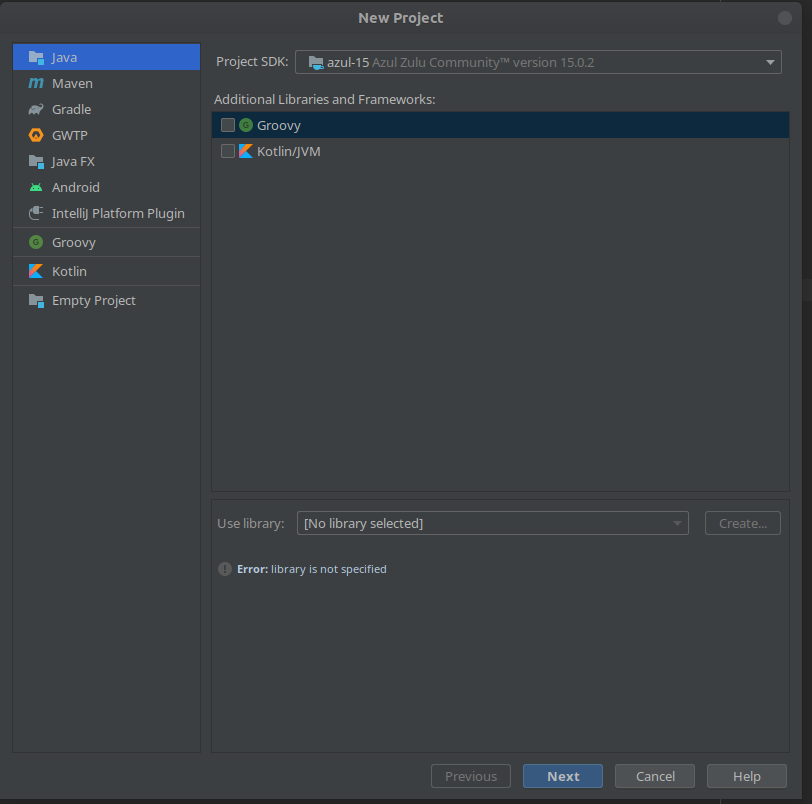
Let’s start. After you installed the Prerequisites you should have everything you need. So start IntelliJIdea. After it is opened use File->New Project to generate a new project. It opens a Dialog where you can select between plain Java, Maven, Gradle and other Stuffs. We want to use Java at this point so click next.
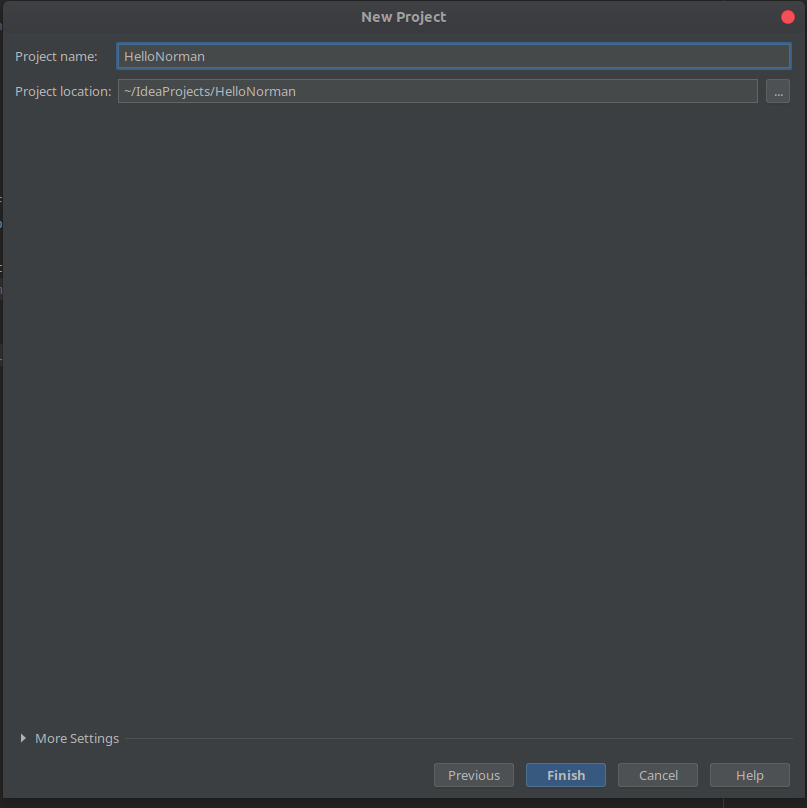
Now it asks for using a Template, we are not using one so click next. Now you are asked for a Name, I call this Program Hello Norman as homage to Norman Palardy.
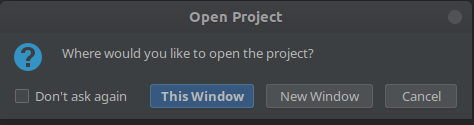
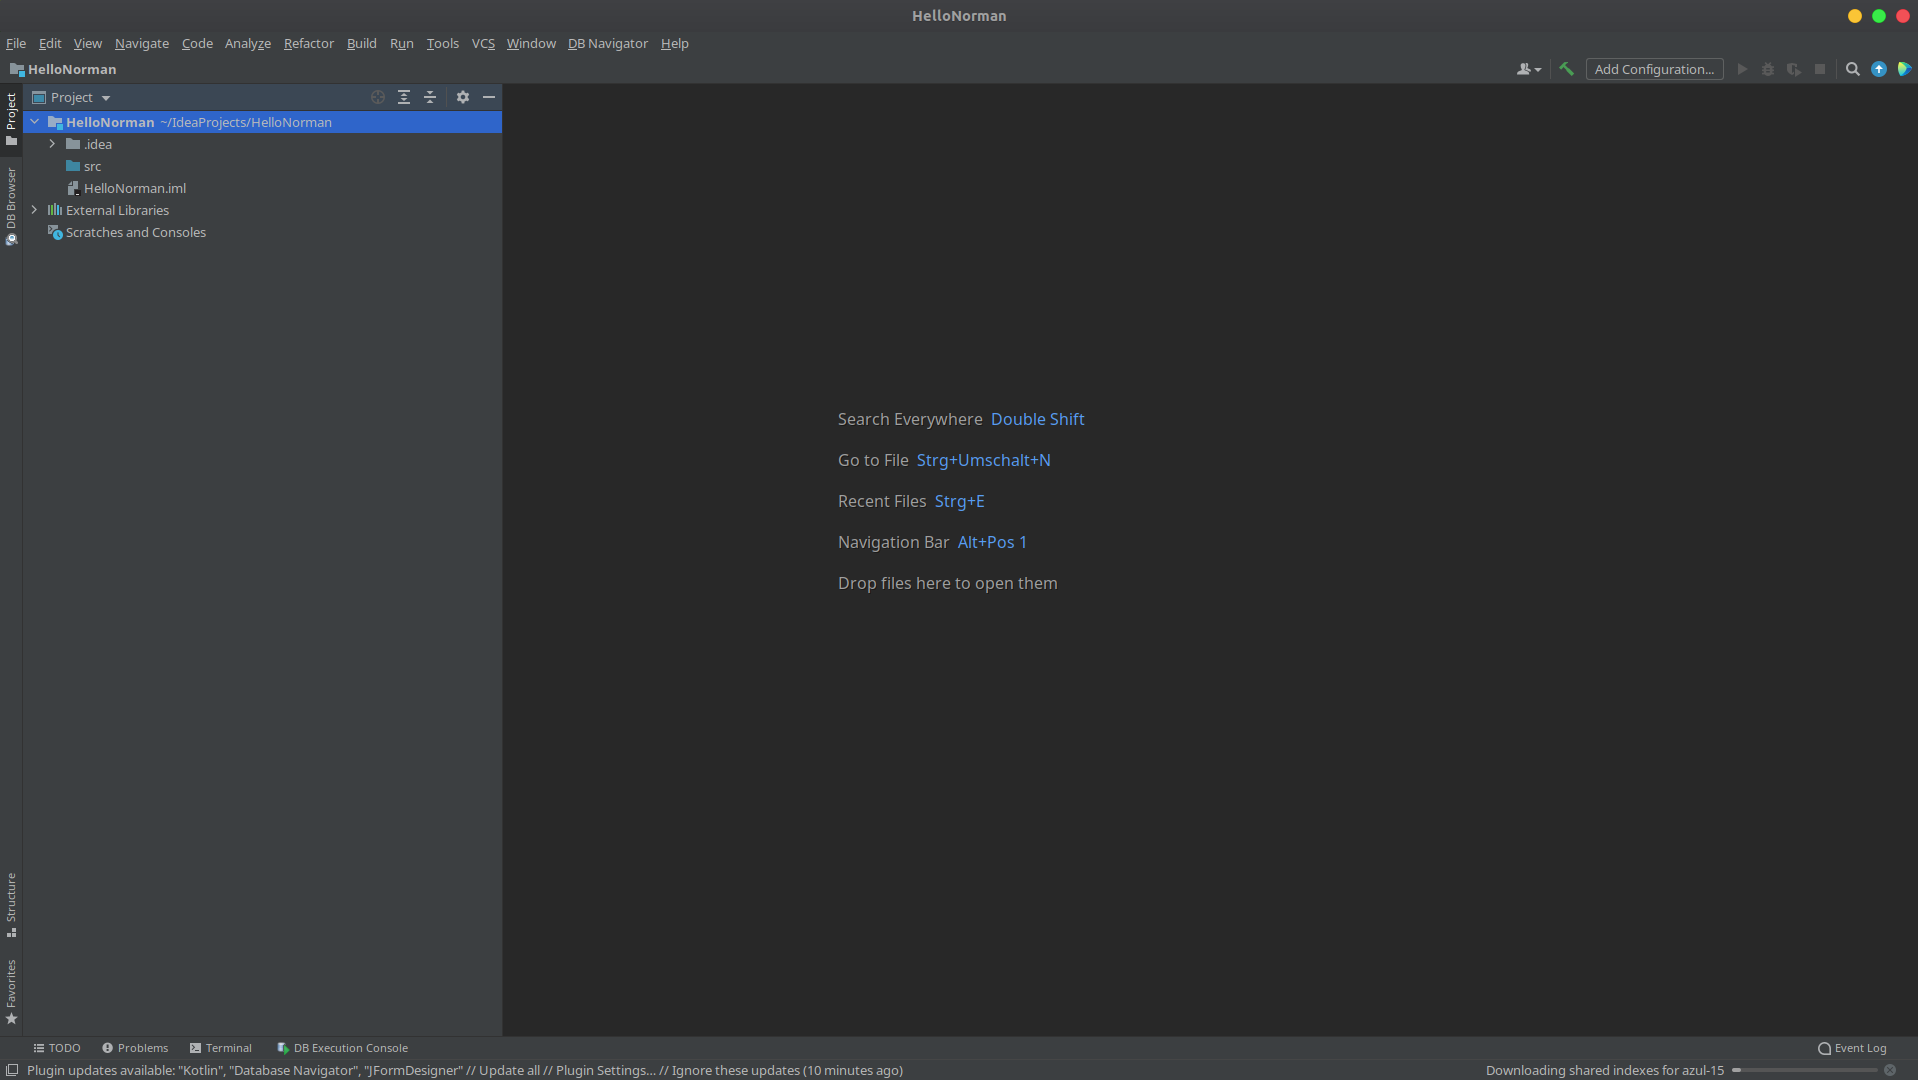
Now click Finish and the IDE will ask you if you want to use This Window where I said yes. If you say no here it opens a new Window. When it is your first Project with the IDE you may have not this question.
IntelliJIdea opens now with your freshly builded Project. At the upper Left Side you see your Project and it’s Files, Libraries and external Libraries and Scratches.
Here you can nor go above the folder src and press right Mouse Button, you’ll get a Popup where you select New-> Package. Idea asks for a Package Name, we’ll give it the name com.hello. Now go with the Mouse above the Package com.hello and do a right click, select new->JFORM-DESIGNER FORM. This Window will come up:
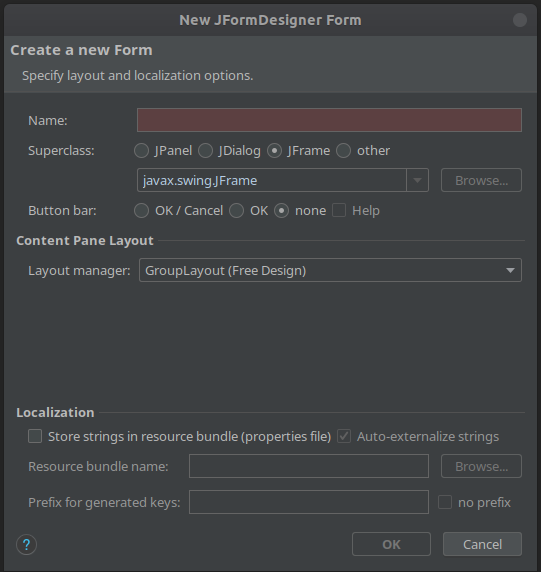
Choose JPanel and give it the Name “NOrmans_Window” and take care that you select GroupLayout(FreeDesign), then click on OK. IntelliJIDea opens the JFormDesigner for you:
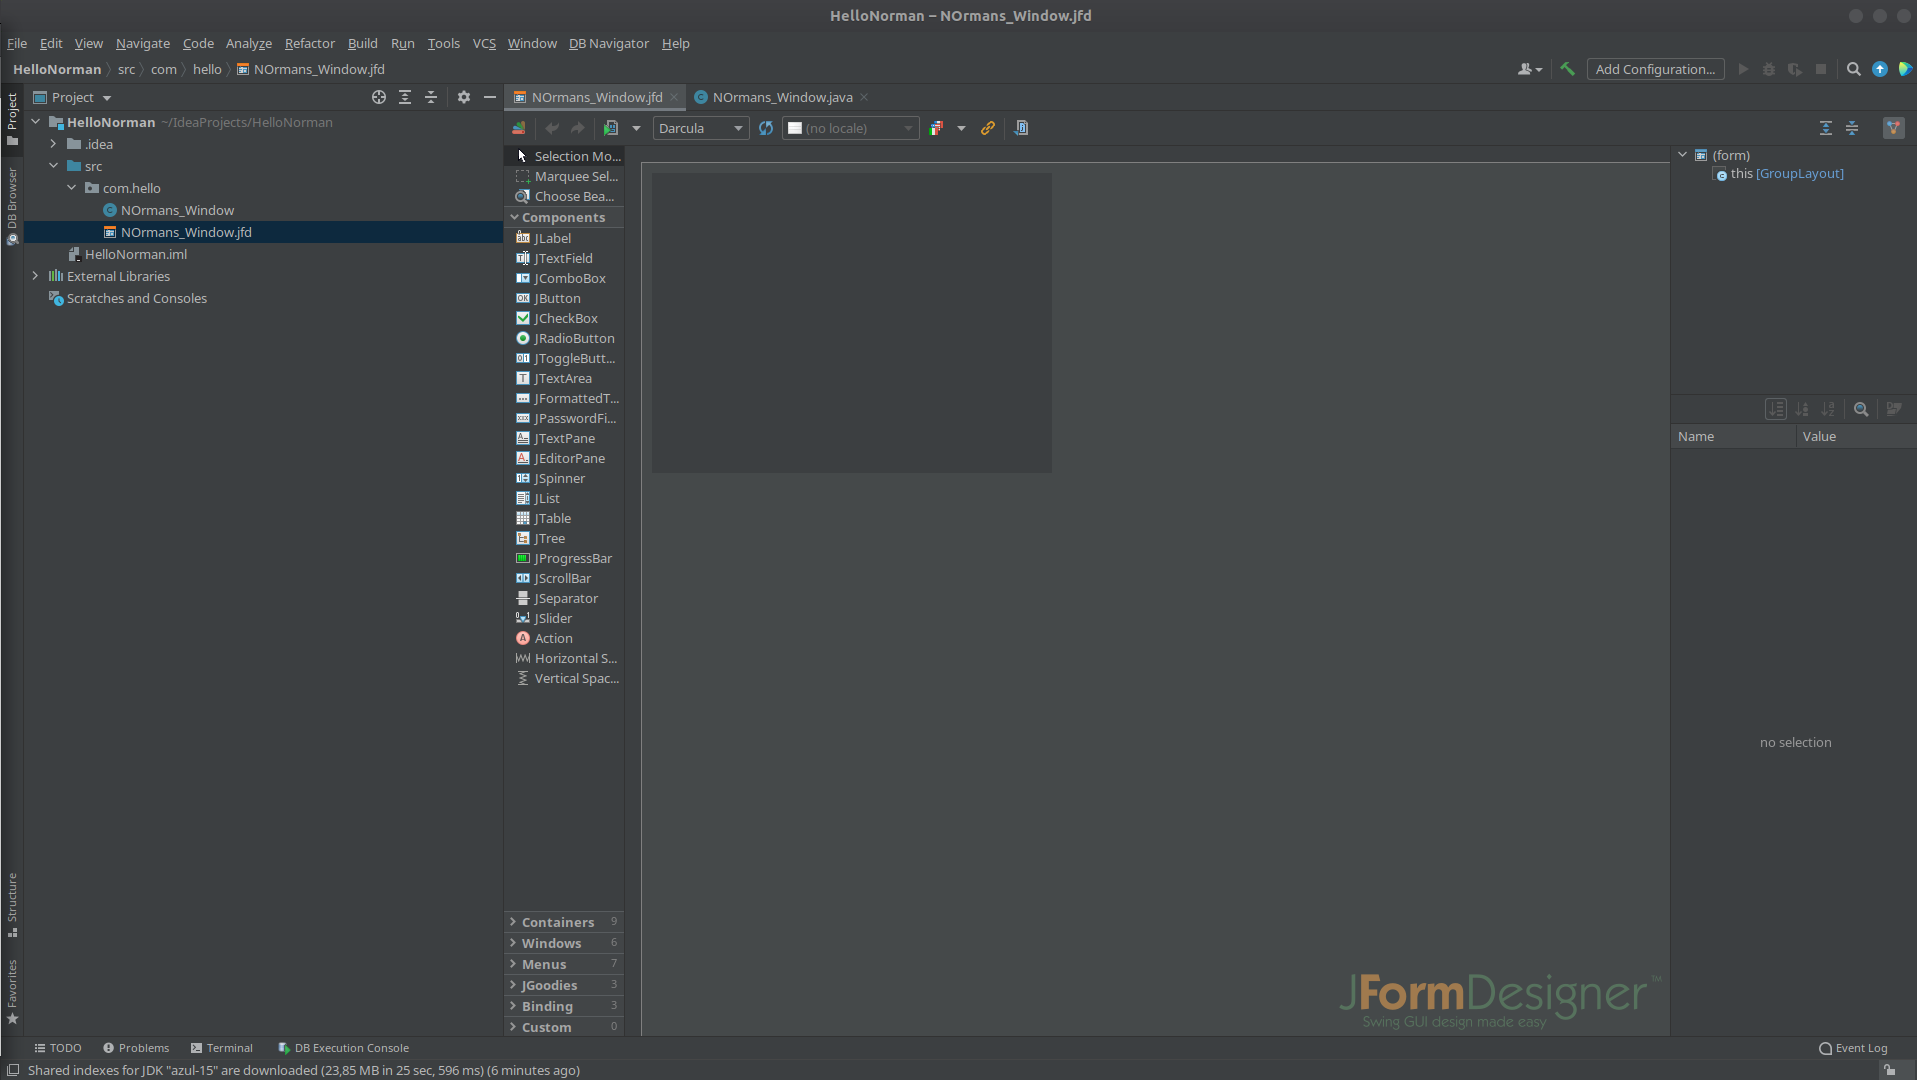
Now click once on Button in the components Selector and place it somewhere on your JPanel:
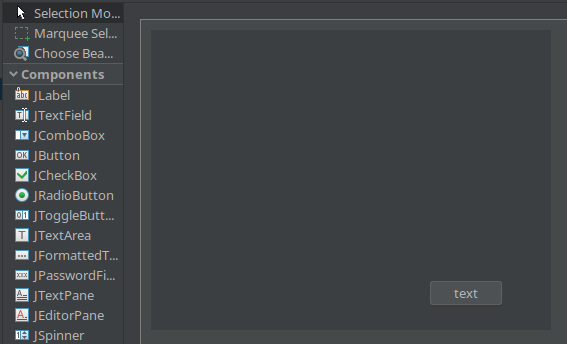
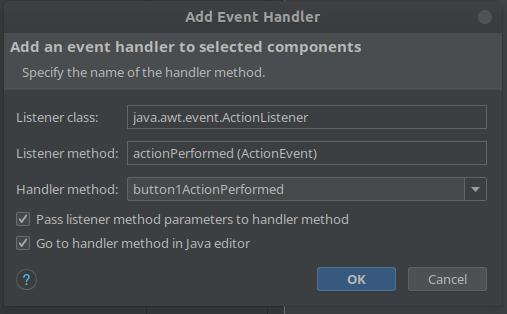
Now go with your Mouse above the Button and do a right click and in the popup Menu select Add event Handler->ActionListener, a further Menu will popup where you can give the Action Listener a Name and select the listener Method. We do now not edit this and click on OK:
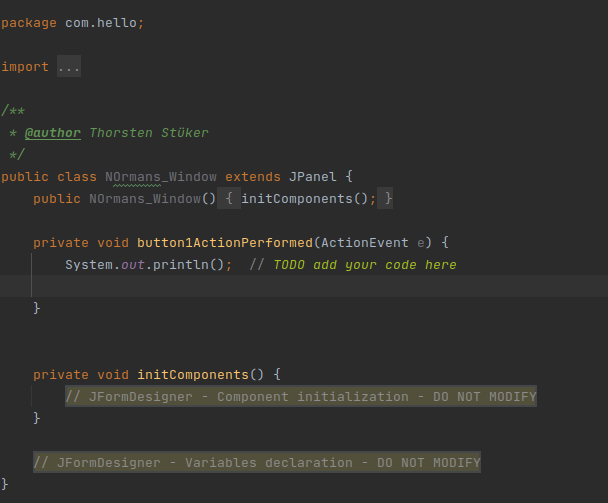
JIdea changes in the sourcecode Editor of NOrmans_Window and you see your just added Action listener. Now we can print out a Hello on the console to Norman so write in the SourceCode:
sout and press return after the Help menu popped up and choose “Prints a String to System.out”. The System now wrote to your sourcecode System.out.println(); and you change that to System.out.println(“Hello Norman”);
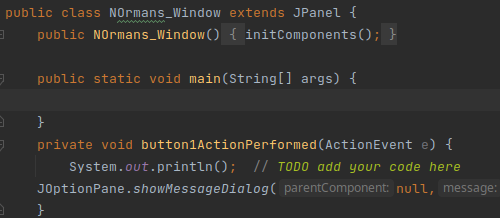
Now we want to have also a Popup Message, from Xojo known as MessageBox. In Java we get this Messages from the JOptionPane.showmessagedialog. It has the options: Parent Control where I said “null” cause it is not neccessary here, Message “Hi…”, Title “Hell.” and the Message Type JOptionPane.Plain_Message:

Now we need a Main Method. Place for that your Mouse between the Line with initComponents and the private void butt… and write psvm and wait until a manu appears. Select Public Static Void Main and IntelliJIdea generates the needed Public Static Void Main Method:
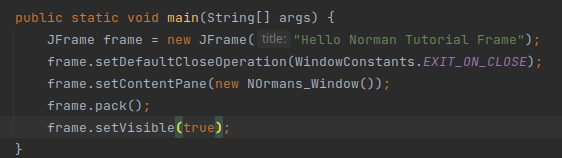
Now we need to write the Main Method to load the GUI:
First of all we need to generate a new JFrame for it while we need one to show our content. So we write JFrame frame = new JFrame(“Hello Norman Tutorial Frame”); With this Line we define the new JFrame with the name frame and we say also that this is a new JFrame.
Next is the definition of the default Close operation. There are two methods mostly used: Exit_ON_CLOSE and SISPOSE(). We use here EXIT_ON_CLOSE:
Then we need to setup the Content Pane. That is the “Surface” where we want to display our Window. We set it as a new content pane and it is a new instance of the NOrmany_Window. After that we call the pack routine so the GUI can be packed correctly and say after: frame.setvisible(true);. That’s it.
Now we need to tell IntelliJIdea where the Main Method is. For this press on Add Configuration
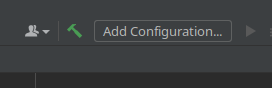
and this Window will pop up:
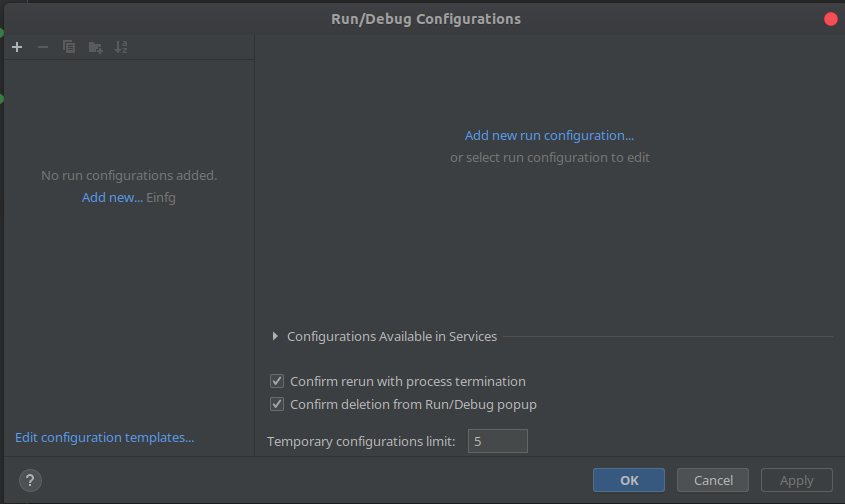
Here you press on the + on the upper left side of the Window and select Application in the popup Menu.
In the upcoming Window Menu you need to give the configuration a Name, I called it Normans_Window_Tutorial.
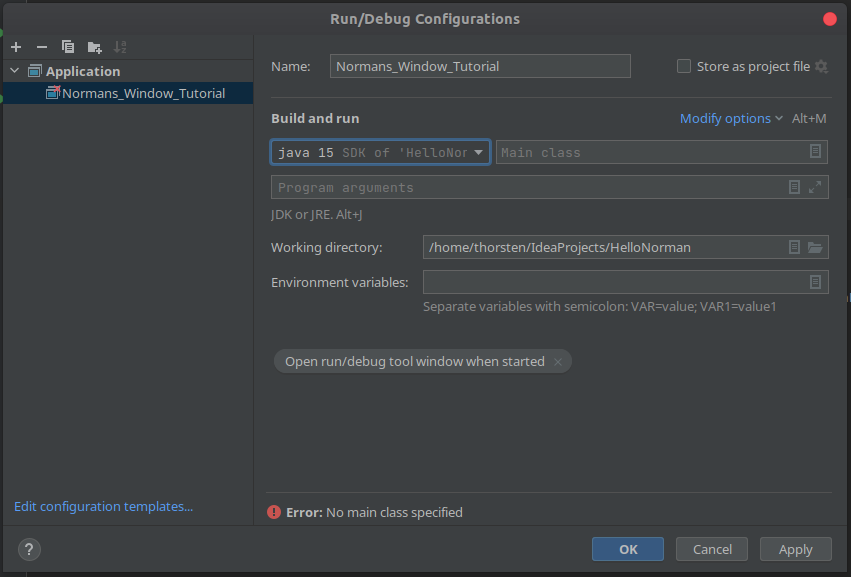
Like you can see, you can select even the Java JVM here. But in the Field Main Class you’ll need to select the Main Class. At the right Side there is a Papersheet Symbol, press on it. IntelliJIde will search for the Main Methods in your Application.
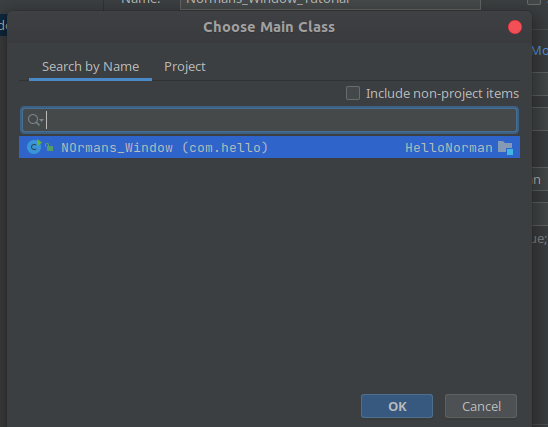
We select here Normans_Window from com.hello. Now it should look like this:
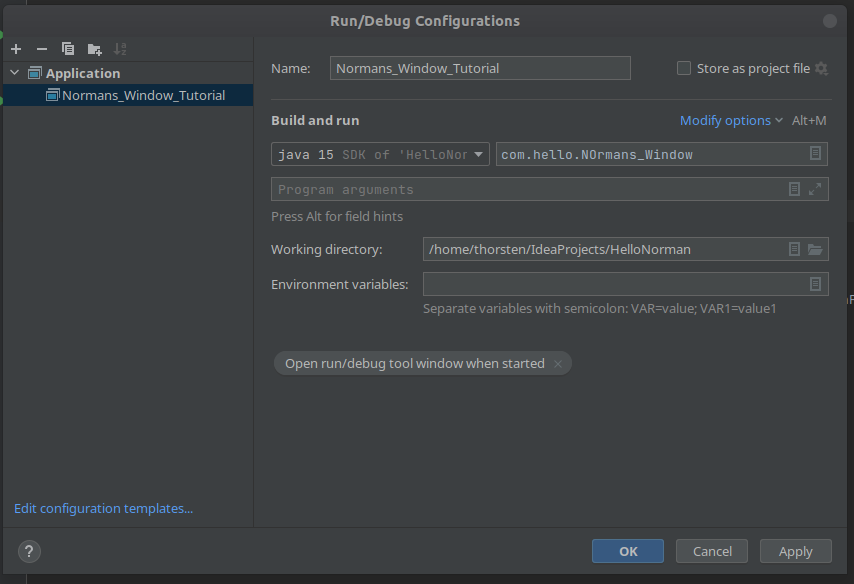
And we can click on OKAY. Now the RUN Menu should appear in the right upper corner:

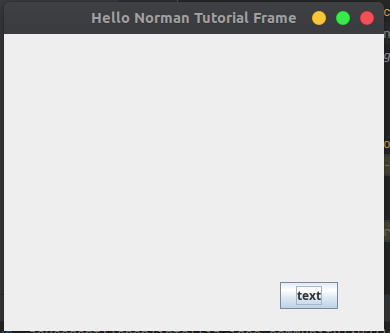
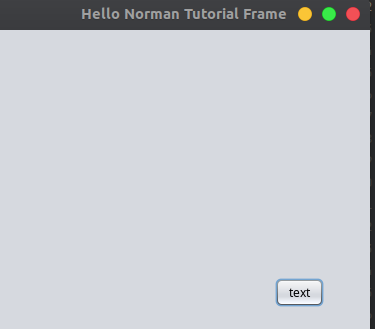
If you now press on the green Arrow the Window should Appear:
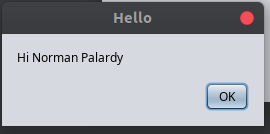
When you press on the Button the Message Box should appear:
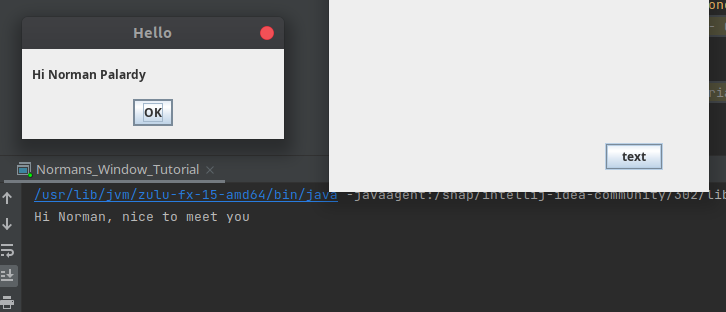
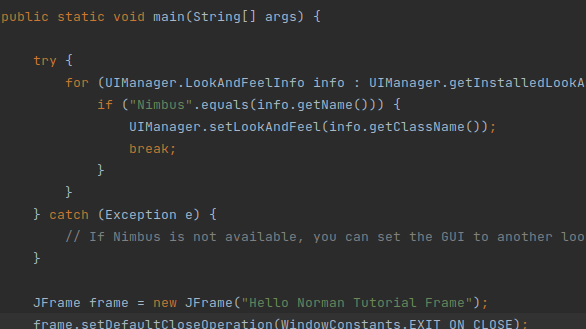
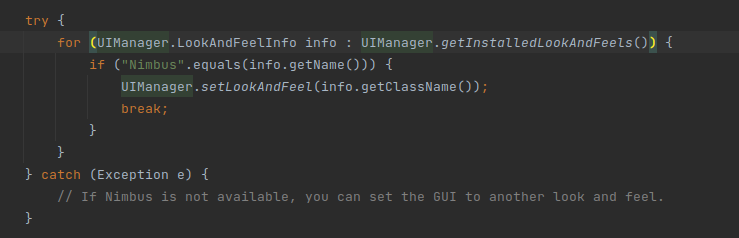
And, after changing the Text given to println in our Action Listener which I forgot to do it gives out our printed line like you can see in the window. But there is one Thing. Standard for Java Swing is the Theme Nimbus. Nimbus is everything else than pretty. To have it at least in the beginning a bit more aestethic I would like to change to the Nimbus Theme. So we need to edit the Main Method and give the following lines “on Top”:

Like you can see there are a few red marked parts of that. Go with your Mouse above and click it once, go again with the mouse above. He will show a popup where you can click import class. Do that and the needed classes are loaded automatically from IntelliJIdea:
When now pressing the green arraw we will see this Window:
And after pressing the Button we will see this Popup:
Nicer for my Eyes and I hope that will help to start a bit better with Java Swing Development for you folks.