Since Netbeans has released it’s Version 12 it is a strong tool. And therefore I will try to show what is possible with it.
We are starting with opening Netbeans IDE after install on our Mac Computer. As prerequisites I was downloading and installing:
- Netbeans 12.4 from netbeans Website
- JDK 15 if not anyhow installed by your Mac from Java Download | Java 7, Java 8, Java 11, Java 13, Java 15, Java 17, Java 19 - Linux, Windows and macOS
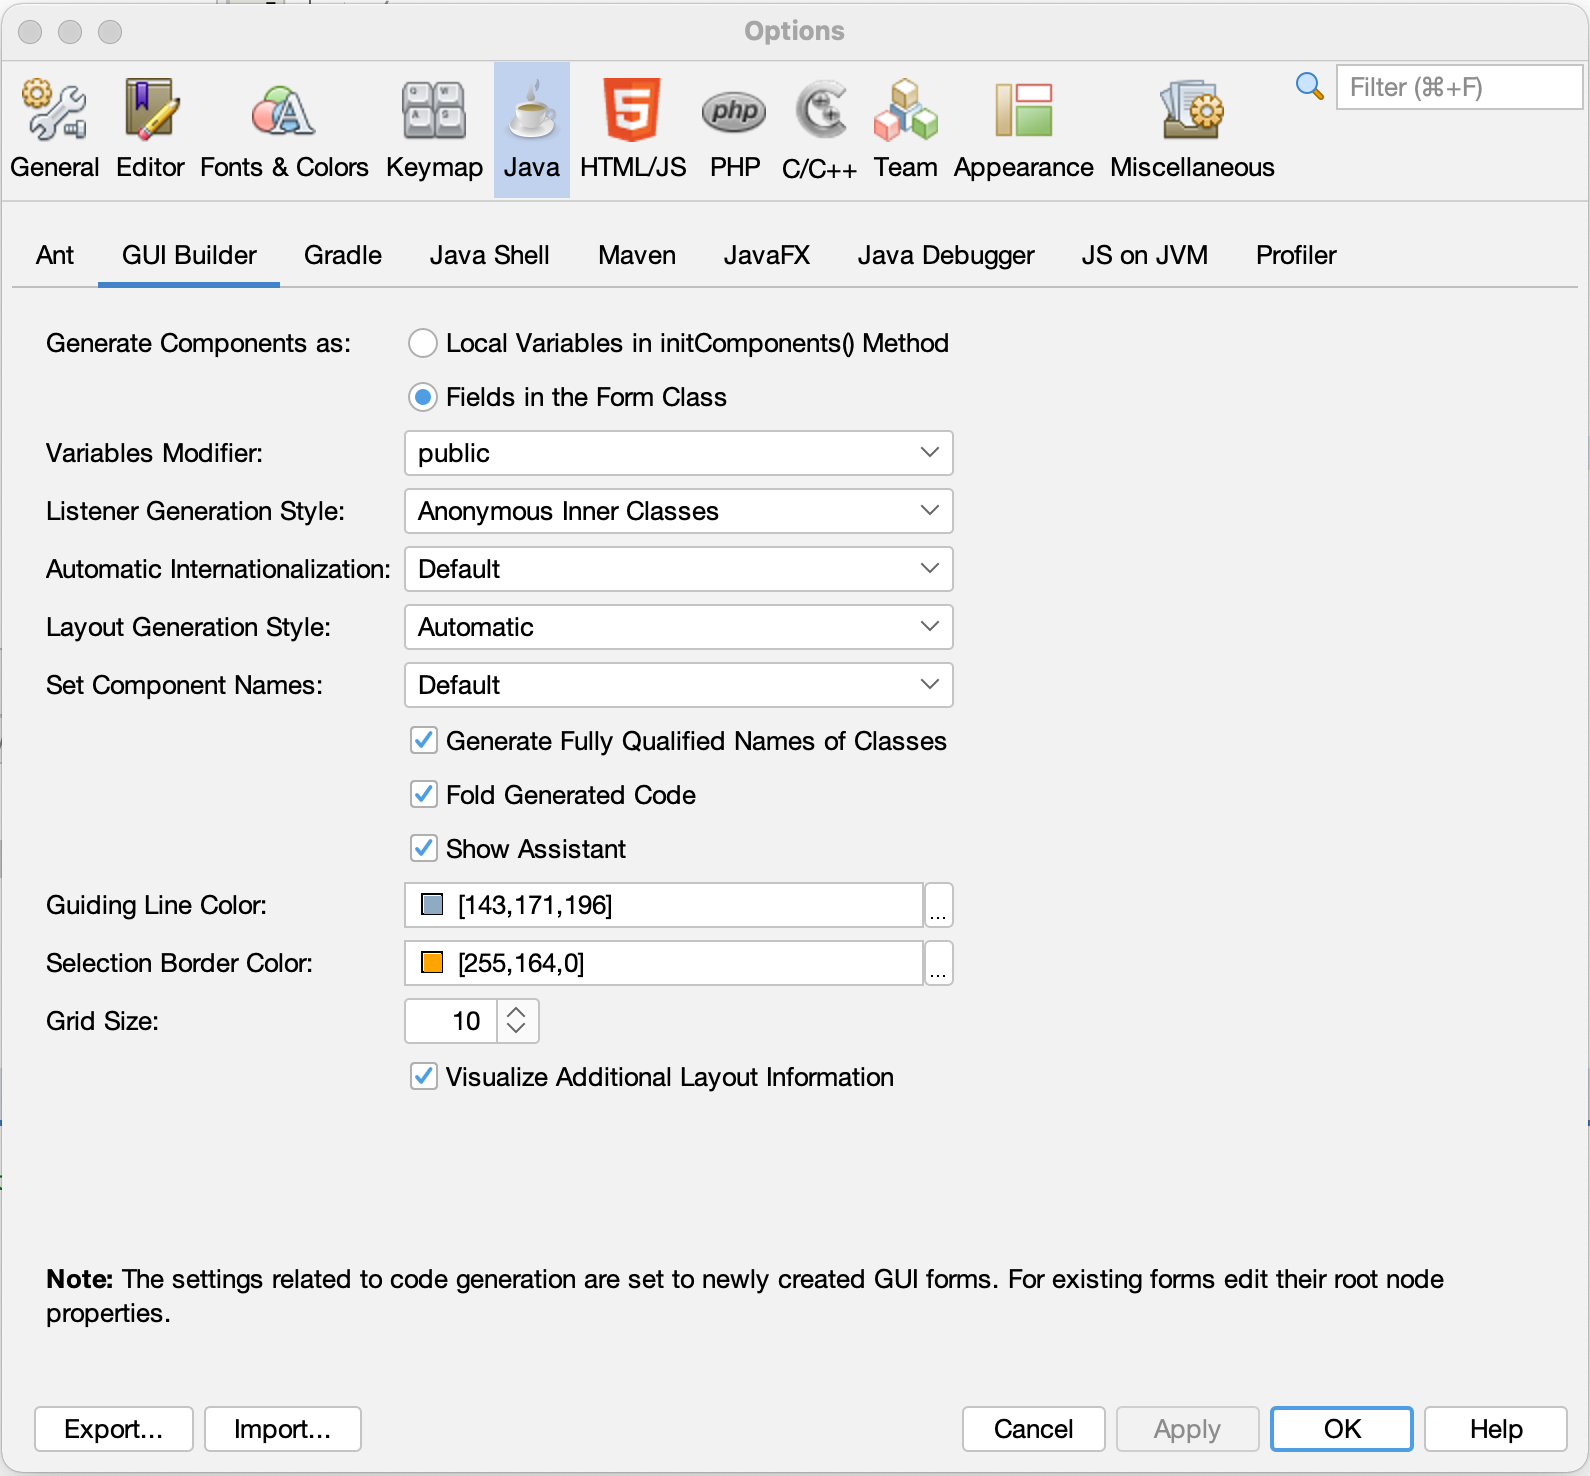
After installing Netbeans and Java we start the Netbeans IDE and open the Netbeans Preferences Menu. In the Tab Java we set the variables modifier to public. That makes it less complex later to work with our windows.
With this install you can write, test and deploy Desktop and Command line Software for all platforms which are supporting Java platform. So the supported platforms will be Windows, MacOS, Linux, Solaris, AIX, Rtos, AutoLinux and many more.
Note: To be able to support Raspberry Pi Platform you need to use OpenJDK 8 or 11. You can even develop on Java 8 or 11 and later run on Java 15 or higher (my tests with Java 17 showed me that 99% of the applications do not need any modification) So if you want to develop for Raspberry PI and all Desktop Platforms you should not install Java 15 Platform but Java 11 Platform. But don’t be in panic: you can choose the platform Netbeans shall use for the project within Netbeans Project Menu.
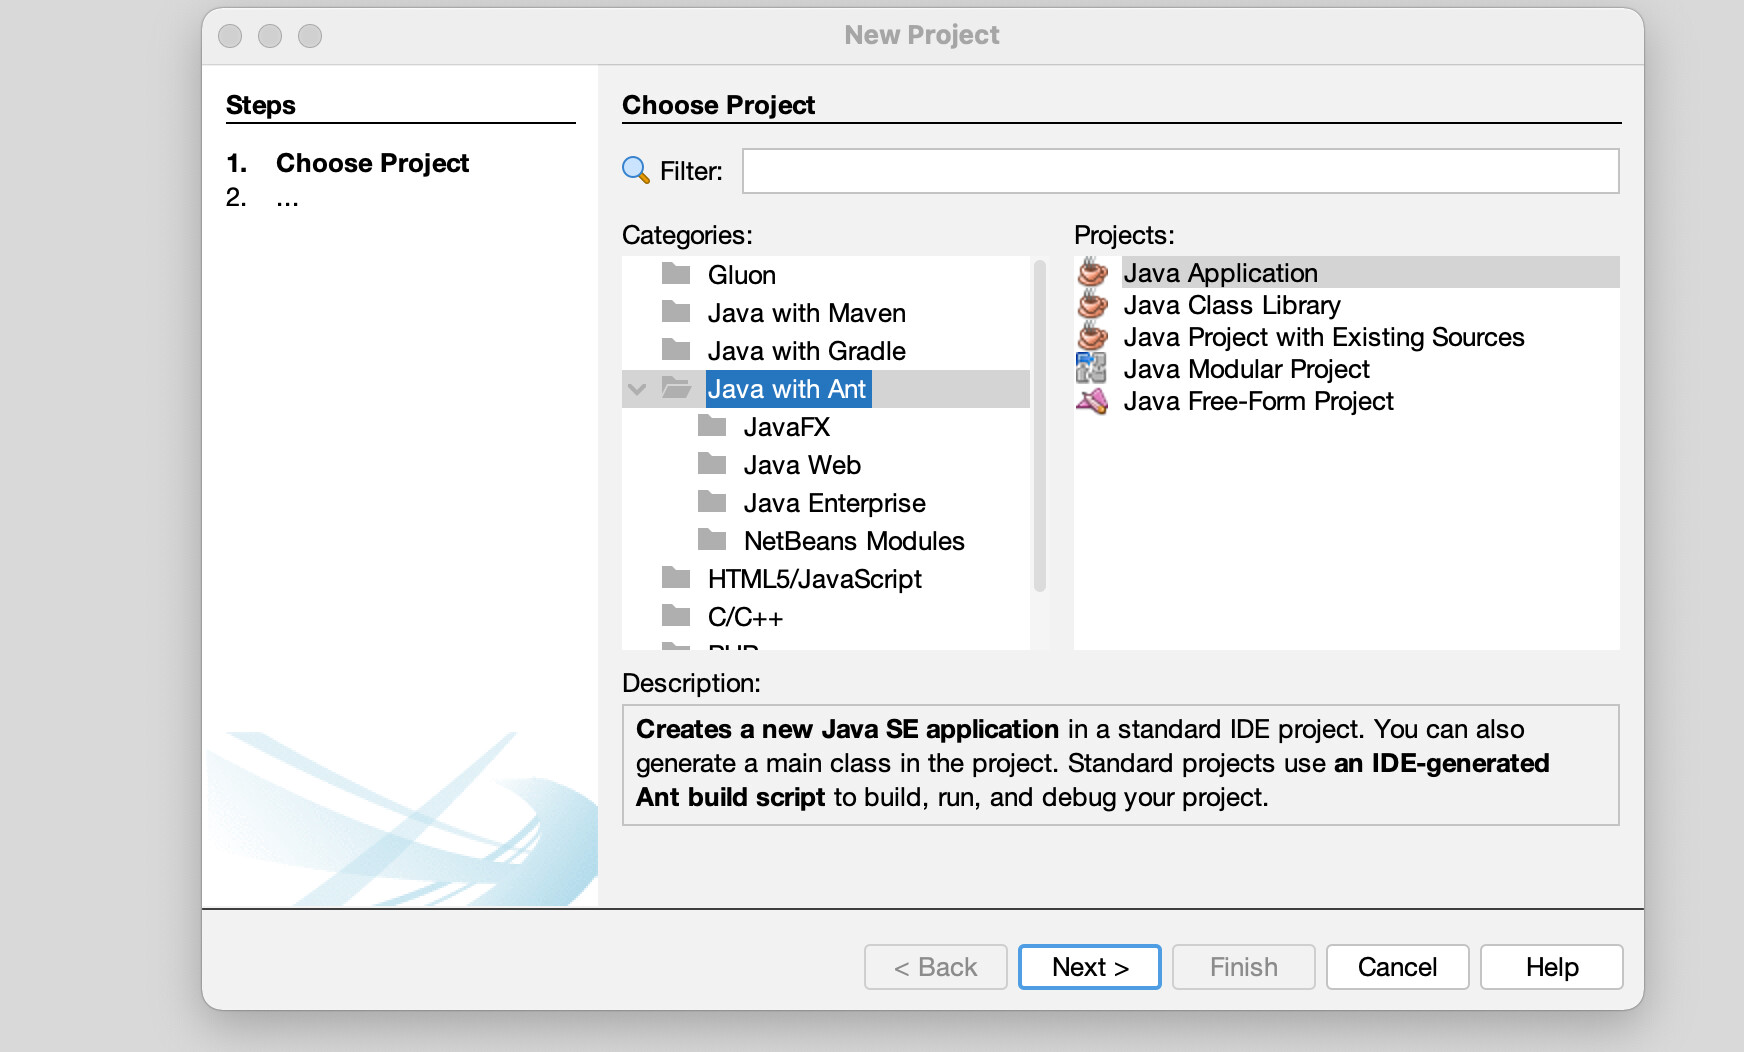
After starting Netbeans I start a Java with Ant Project, Java Application like you can see on the Picture below.
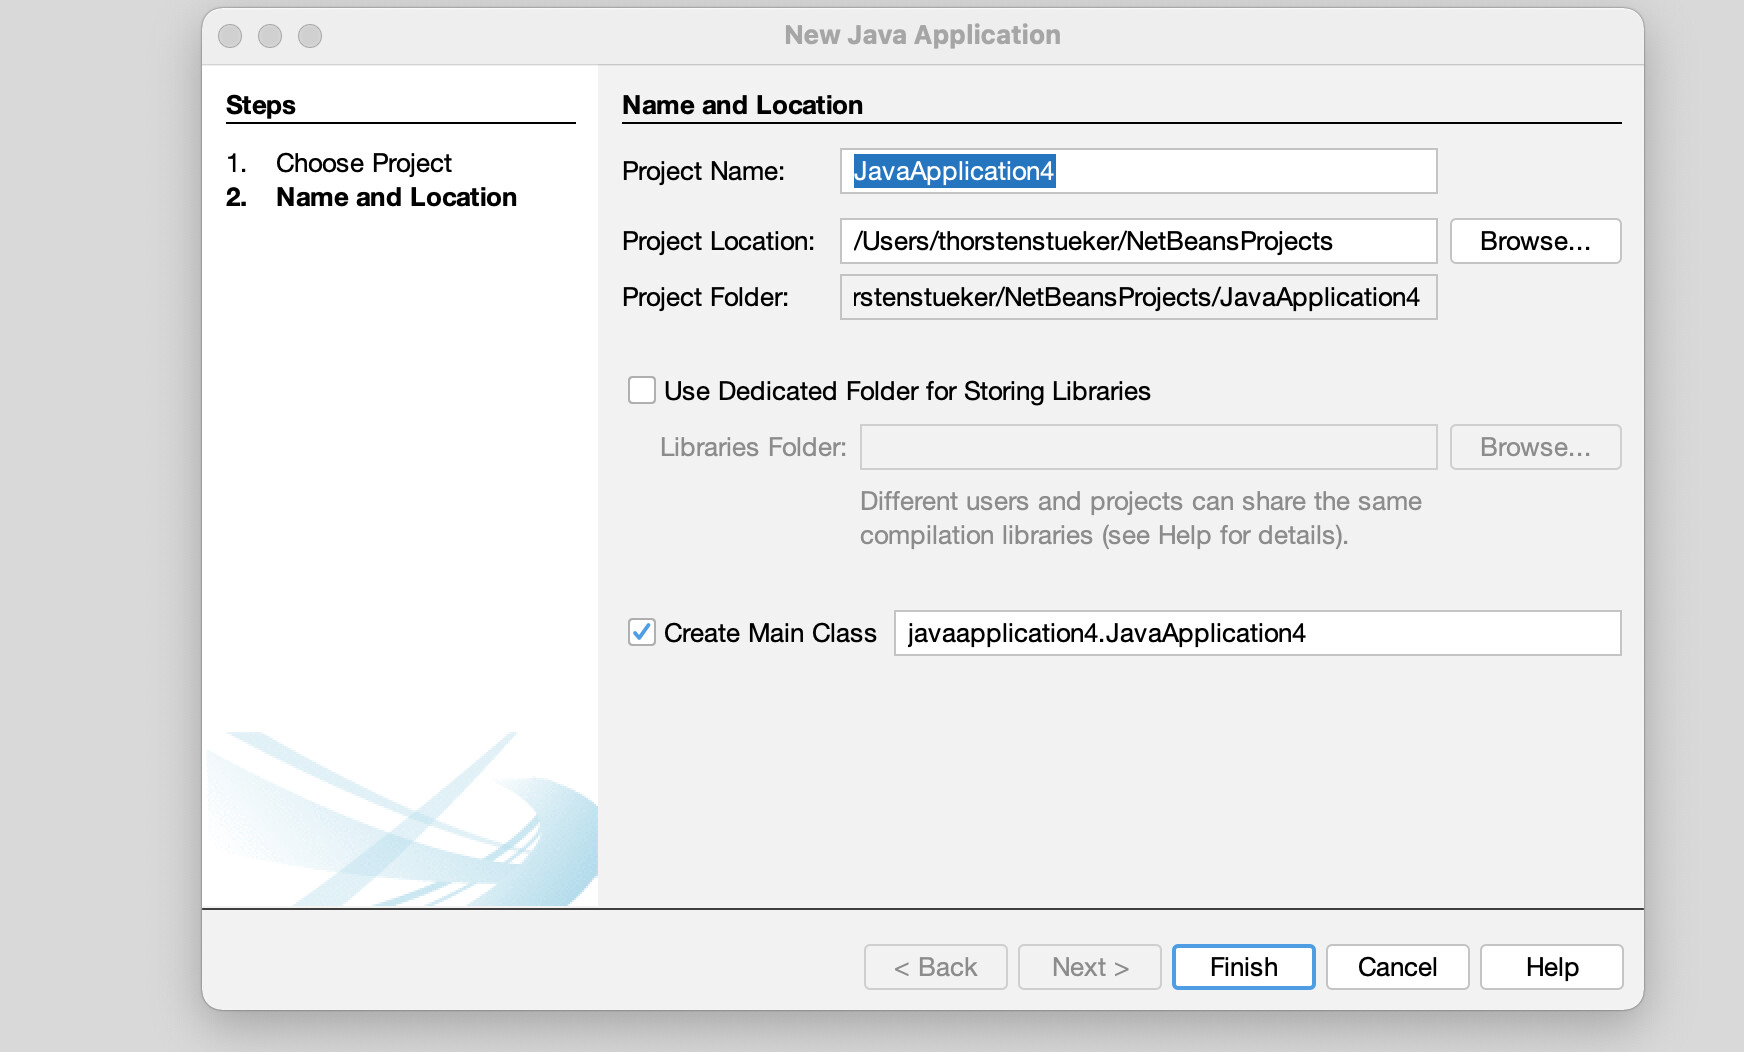
Clicking Next it shows up a Window where I can set Project name, location and Folder and, I recommend this, let’s you create a Main Class.
One click on Finish shows the generated Program skeleton in the Netbeans IDE.

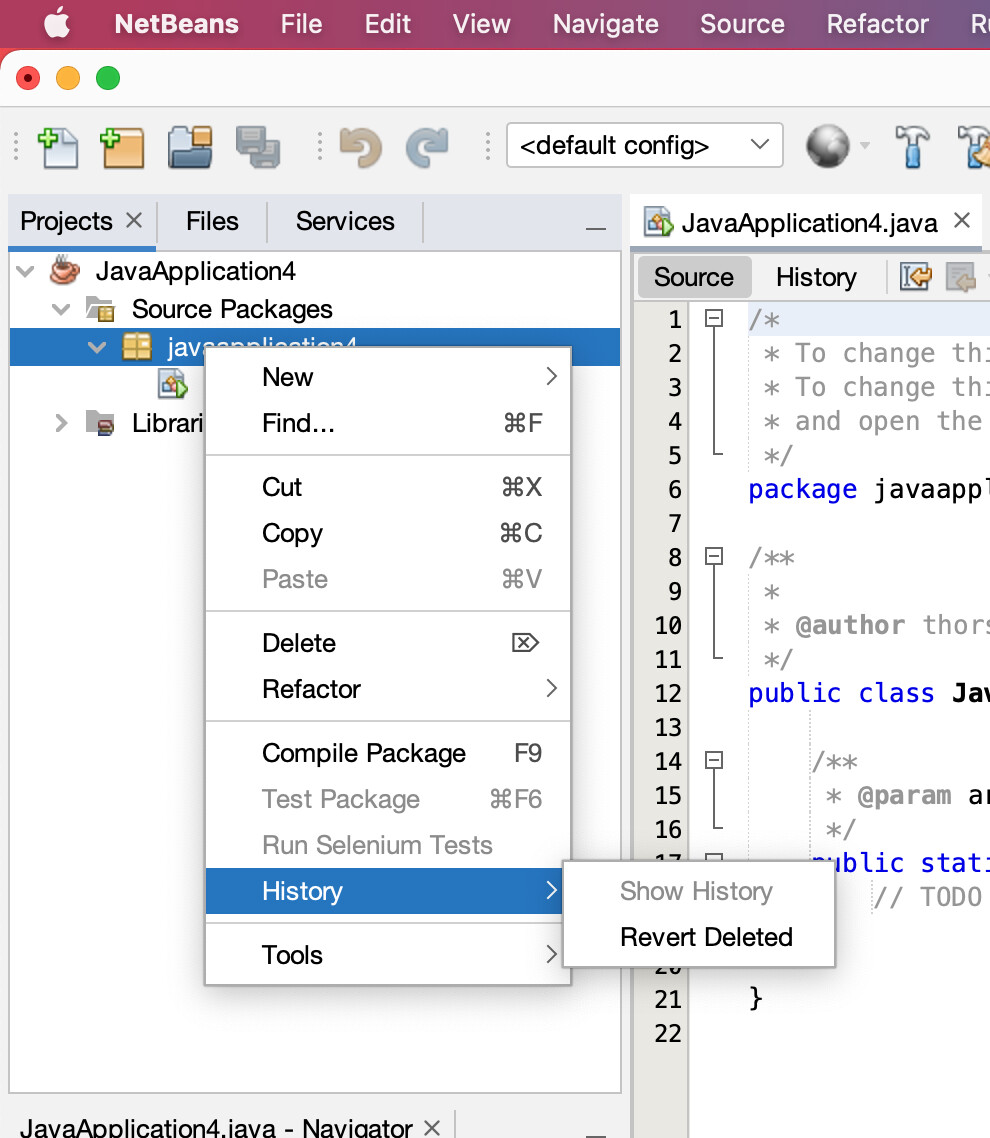
First I want to generate a Window with some functionality. Here it shall be a Window with a Button and when clicking the Button it shall change the button Title. Let’s test. In my Package Javaapplication4 I am doing above a right click and it opens a Menu:
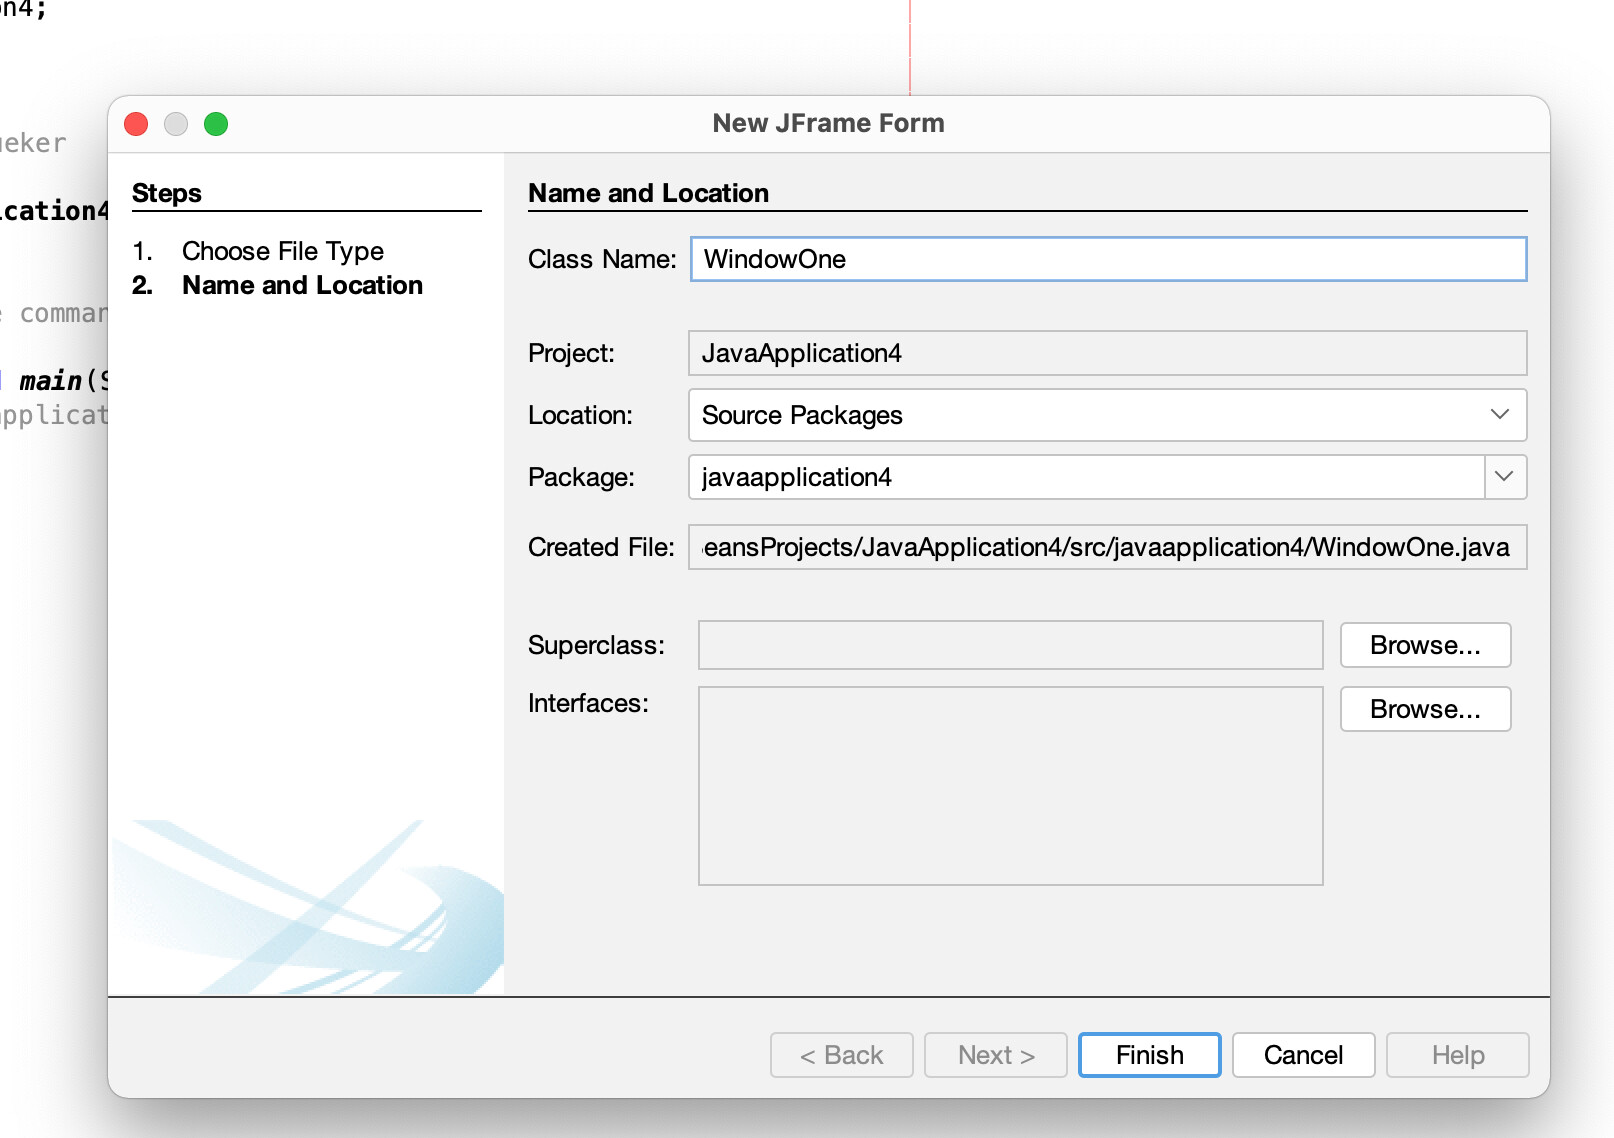
I choose New and then Frame Form. A Window is opened where I can set the Name, the location and the Package. I will call the name WindowOne
Clicking on Finish shows me the Designer with the empty Window.
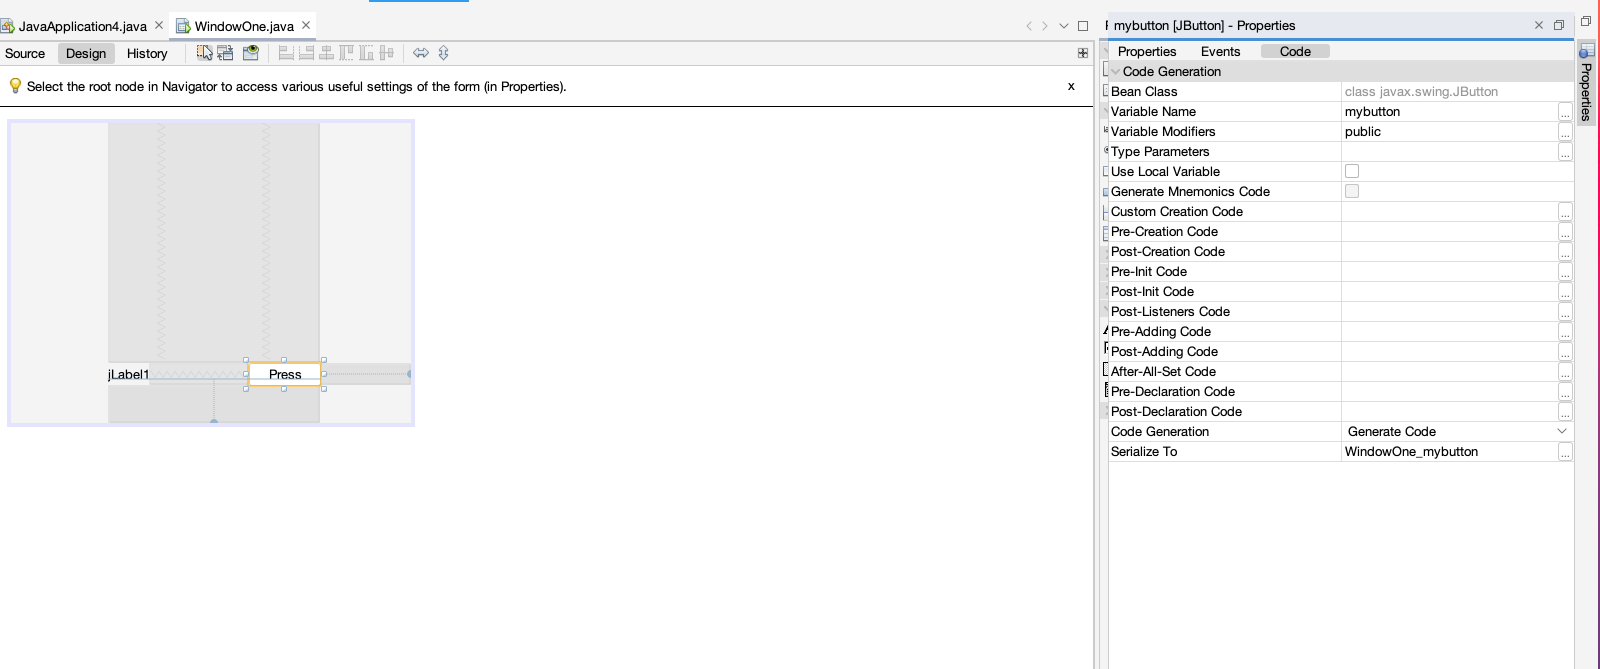
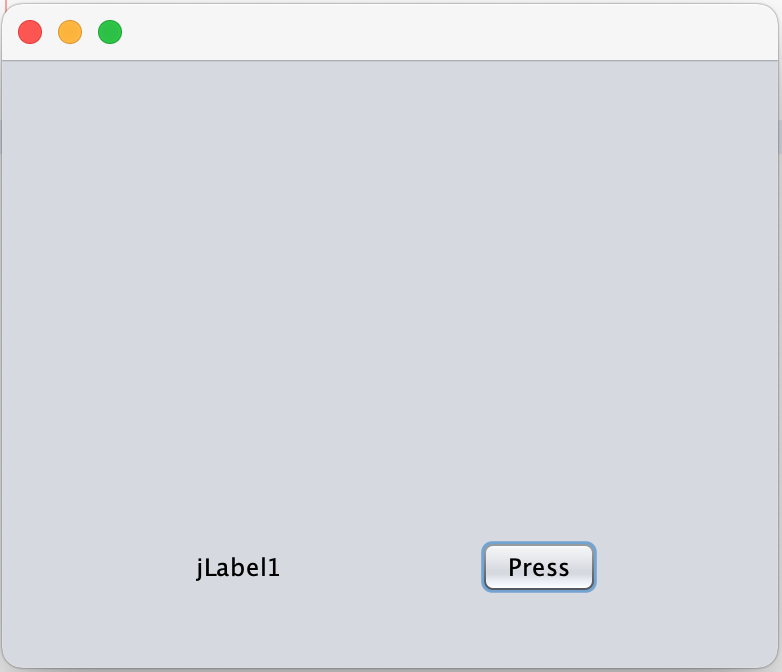
In this Window I place a Button and a Label:

On the right side is a Button named properties. Pressing on it Netbeans opens the Properties Editor. So first I select the Button and press then on properties. Here we have three Tabs: Properties, Events, Code. In the Properties Tab I am changing the Text to “Press” and in the Code Tab I change the variable name to mybutton. Then I select the Label and change its name in the code section to my label.
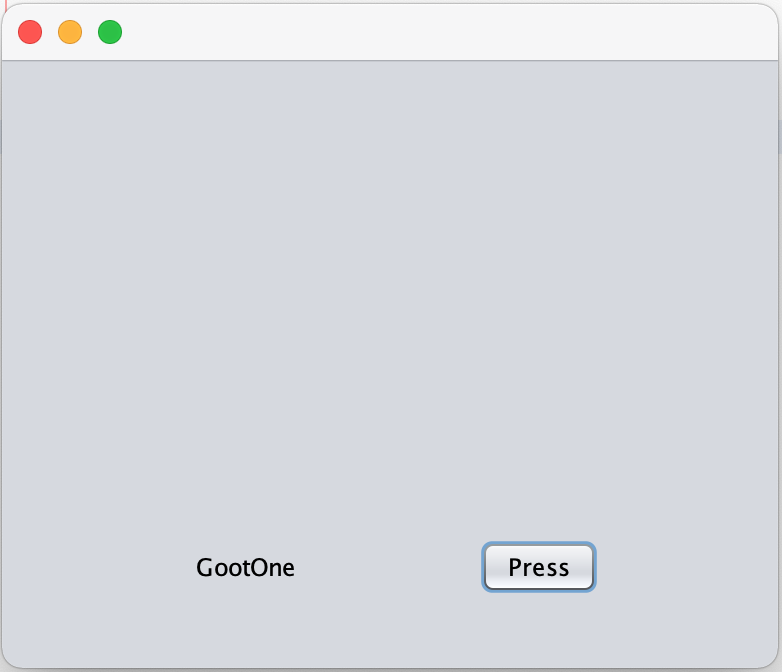
Now I am double clicking on the Button in the Designer and the Netbeans Designer automatically generates the Action event ActionPerformed and I am in the Code Editor in the Button Action:
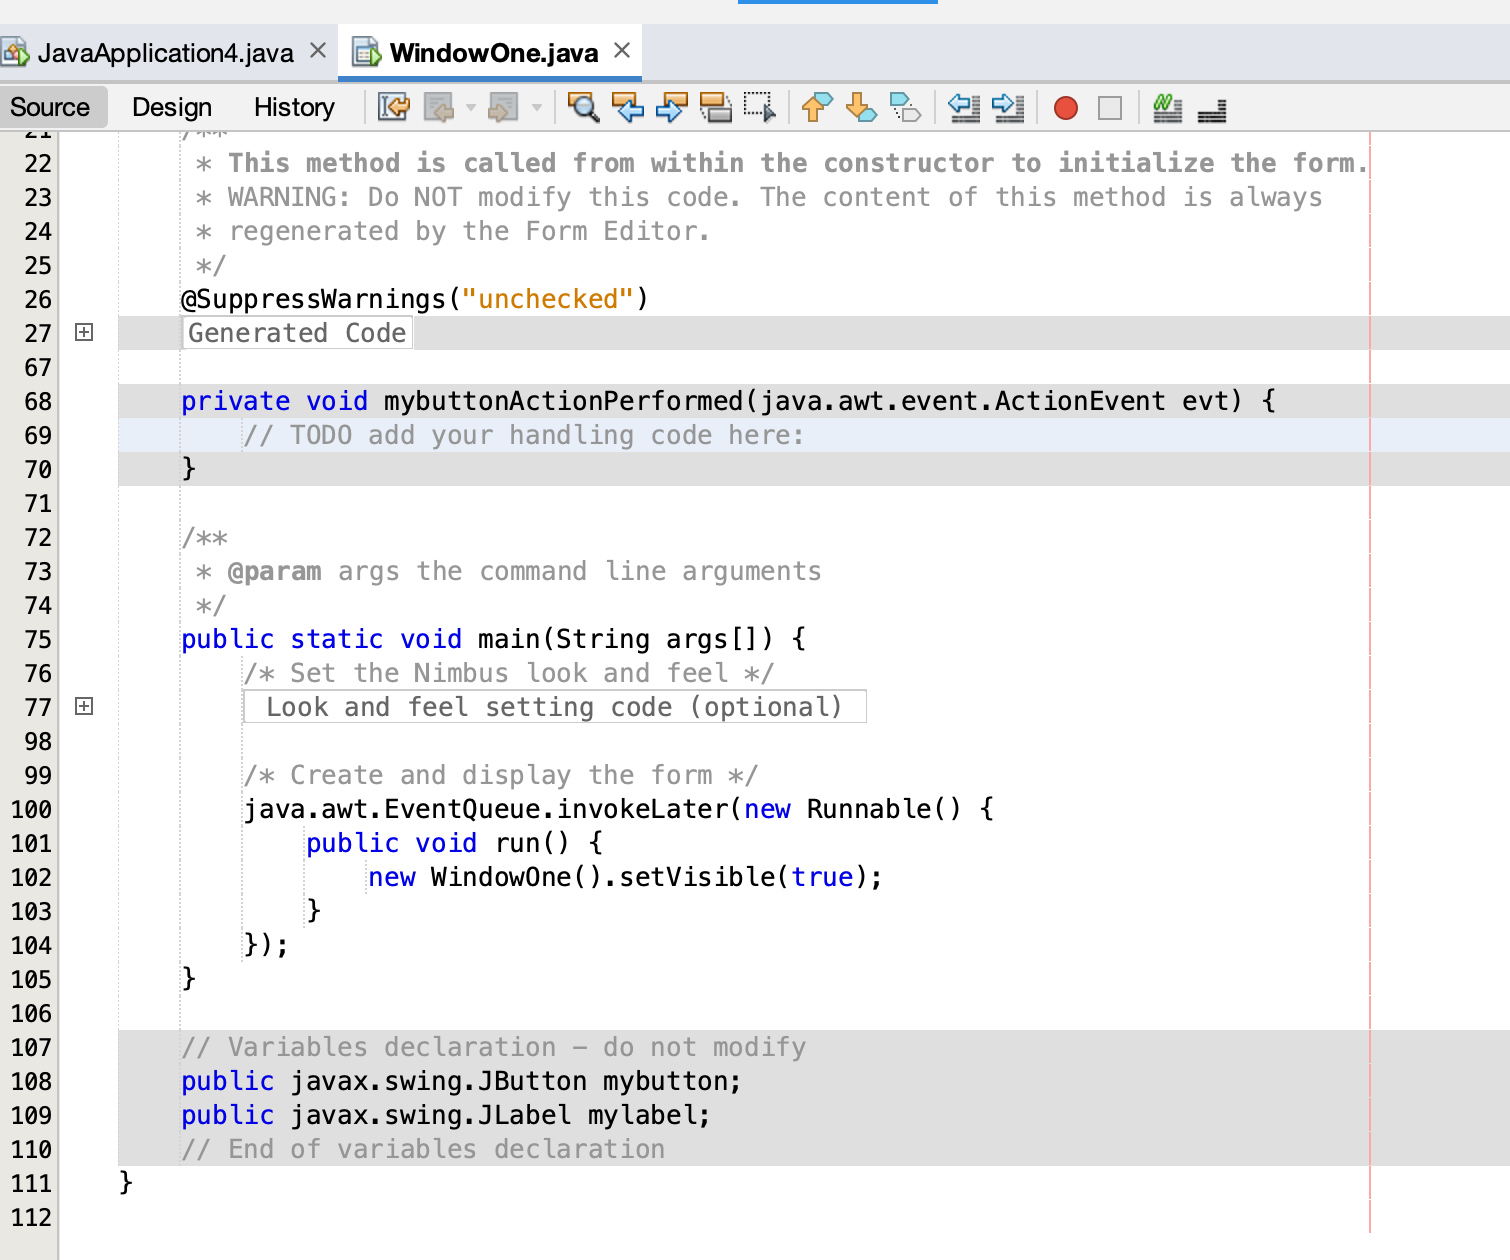
In the Action Event Method I am doing this command: mylabel.setText(“GootOne”);
Now I am starting the Java Program and waiting for the result: Nothing happened!!!
Now we open the JavaApplication4.Java File which was generated in the beginning. We need to call the Java Page we just generated:
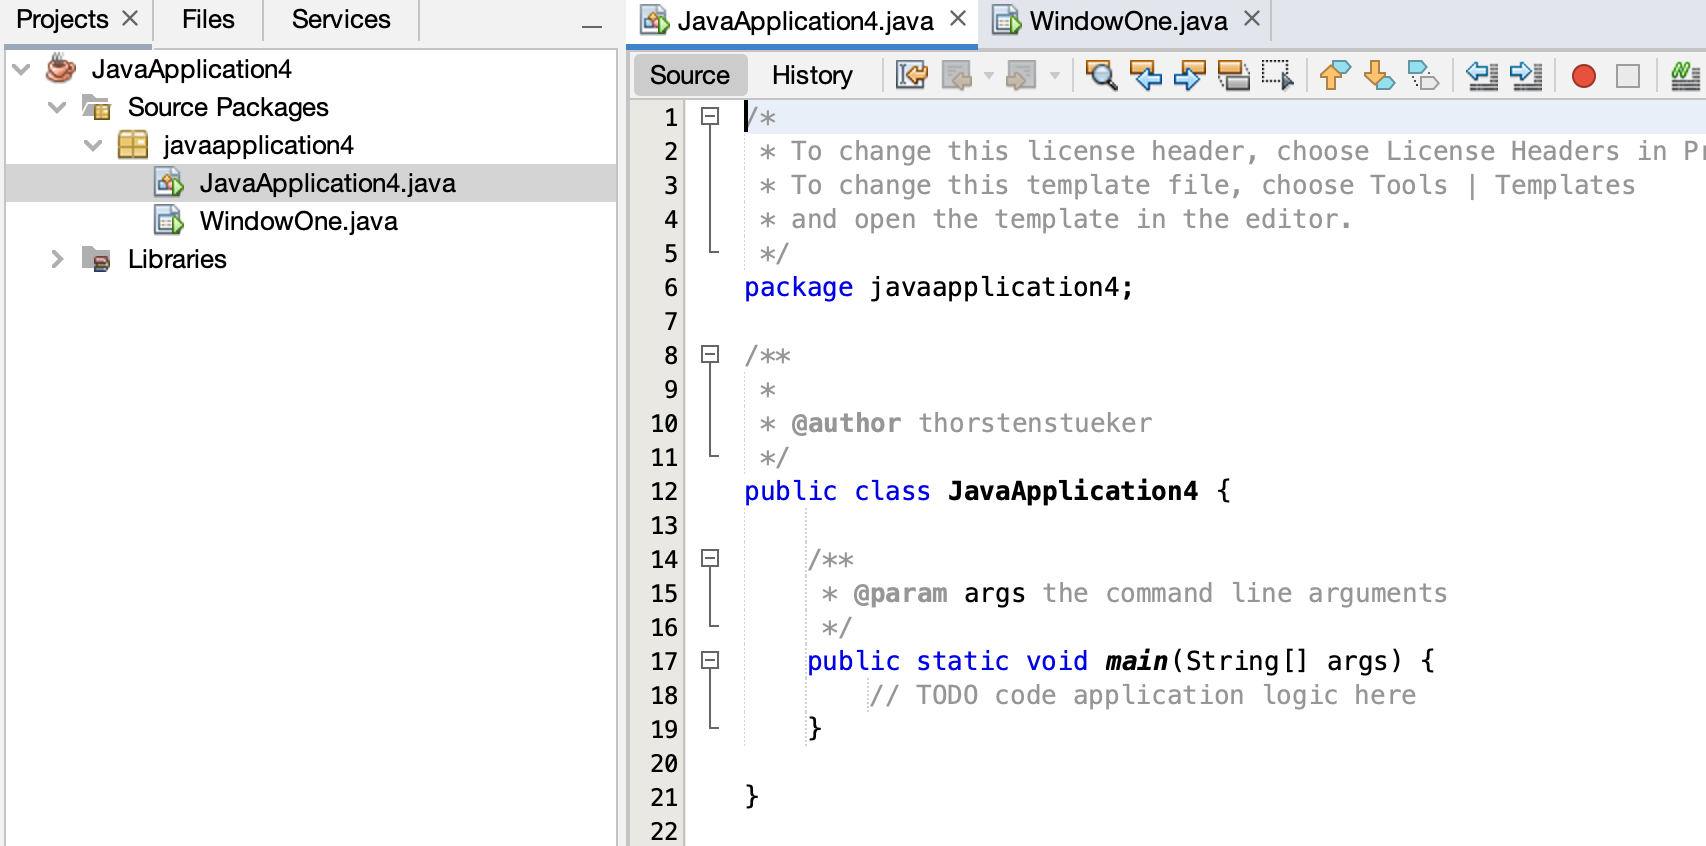
Like you can see: the public static void main Method has no commands. That I should change for our project. I have to tell the Java Programm to open the generated window. That I am doing with this simple code: WindowOne.main(null);
While the WindowOne Code has an own main method I can call the Page with it’s own main method. While I have no args to send to the Window I am sending (null) while args can not be empty but it can be null.
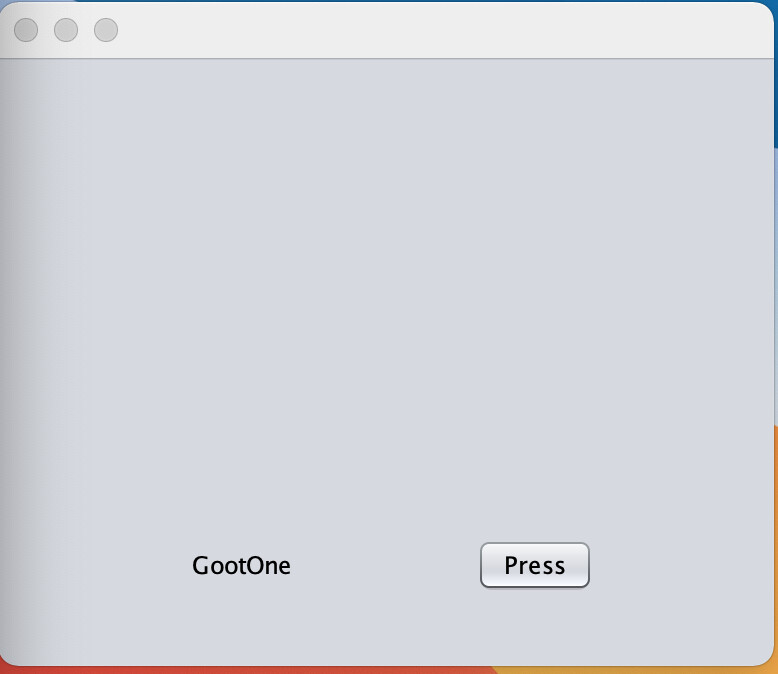
Now I sm starting my Program with the green arrow in the IDE:
and after pressing the button it looks:
As a result we can say, we can generate now Java programs with it. But can we run it outside the IDE? Click on Clean and Build in the Netbeans IDE and have a look on the Output of this process. It shows you even the command for the terminal you can use. While I was building on my System with JDK11 it shows me the right command to run the program with our IDE:

So let’s try it and open a terminal:

and start now the Program:
On every machine where is the JDK 15 or above installed (or 11 and above if you selected Java JDK11) you can run this program. Means: deployment is only deploying the .jar File the IDE generated. Have fun!